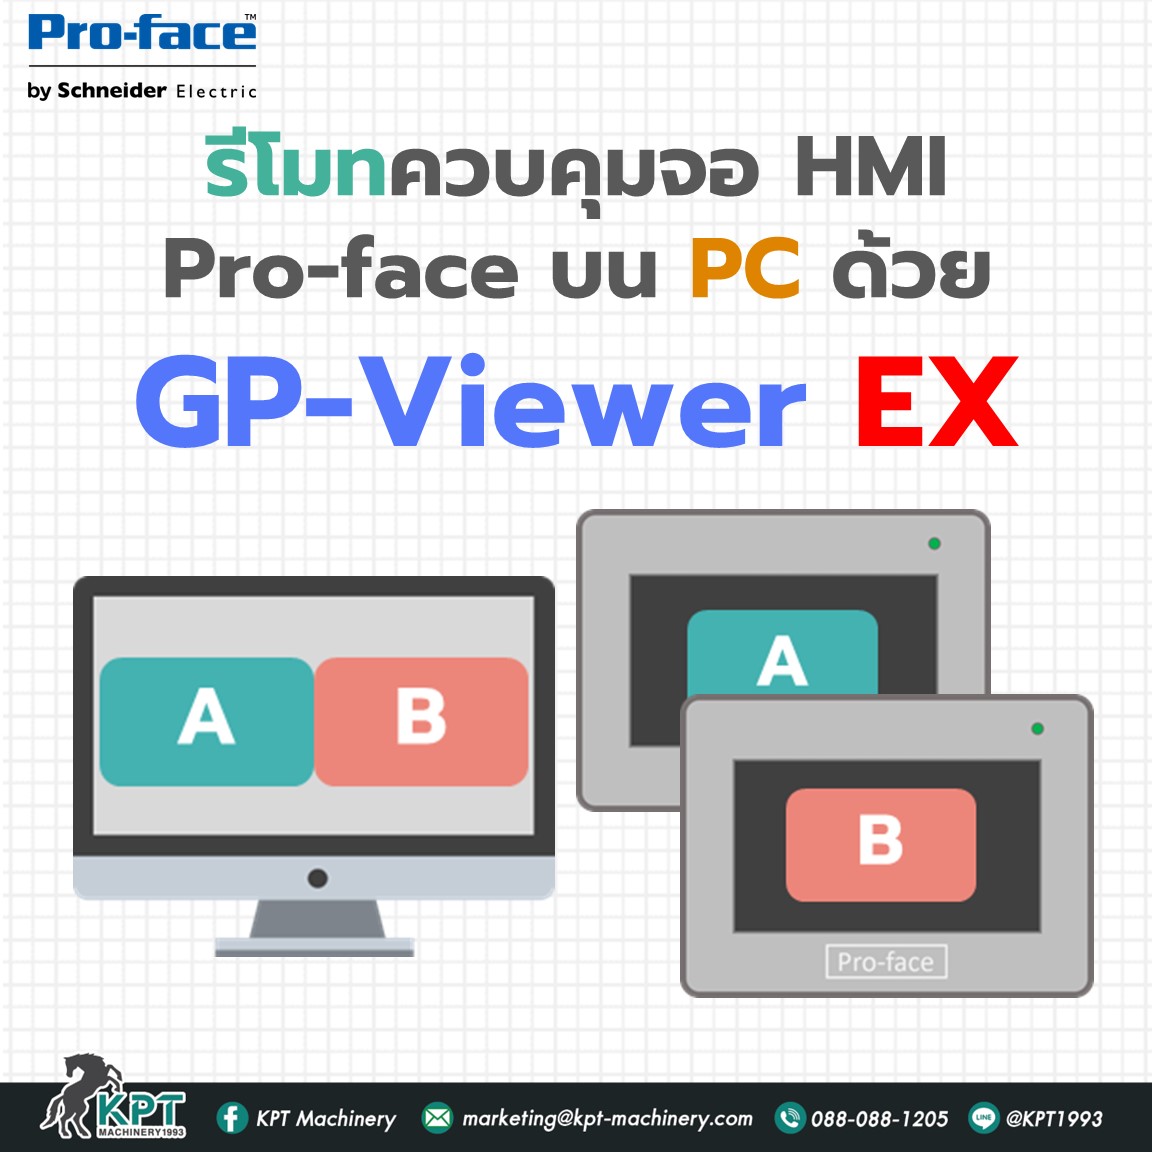
Software GP-Viewer EX เป็นซอฟต์แวร์สำหรับ Remote และ Monitor หน้าจอ HMI Pro-face ผ่านคอมพิวเตอร์ใน Local Area Network (LAN) ควบคุมได้ทั้งรูปแบบ Synchronous และ Asynchronous สามารถดาวน์โหลดและติดตั้งซอฟต์แวร์บน PC ได้ฟรี แต่จะใช้ Key code (License) สำหรับ Activate ฟังก์ชันบน Hardware HMI รองรับการรีโมทได้พร้อมกันสูงสุด 4 หน้าจอ
Supported Models
- SP5000
- ST6000 / STM6000
- GP4000 / GP4000M / LT4000M
- GP3000 / LT3000M
- WinGP on iPC

Part 1 : เปิดใช้งาน Remote Viewer ที่จอ HMI
1. เข้า Offline Mode ของจอ -> แถบ Main Unit Settings -> เลือก Remote Viewer Settings

2. ติ๊กเลือก Enable

Part 2 : ตั้งค่า GP-Viewer EX
3. ดาวน์โหลดและติดตั้งซอฟต์แวร์ GP-Viewer EX
https://www.proface.com/en/download/trial/gpviewerex/v30

4. เปิดโปรแกรม GP-Viewer EX

5. เลือก Connect new

6. เลือก IP Address จอที่ต้องการเชื่อมต่อ (PC และ HMI ต้องอยู่ในวง LAN เดียวกัน)

7. ติ๊กเลือก PASV (default port : 21) -> คลิก START CONNECTION

8. รอโปรแกรมเชื่อมต่อจอทัชสกรีน

- สามารถ Control และ Monitor จอ HMI ผ่านทาง GP-Viewer EX ได้

- กำหนด Title, ตำแหน่งจอเมื่อเปิดโปรแกรม, เวลา Update Cycle, หรือการใช้ CPU ของ PC ได้ ที่เมนู Settings

- กรณีไม่มี Key Code ที่ตัวจอ (Hardware) จะมีแถบ Trial คาดบนโปรแกรม

Part 3 : การใส่ Key Code ที่จอ HMI
9. เข้า Offline Mode ของจอ -> แถบ Main Unit Settings -> เลือก Extended Settings

10. กรอก Key Code GP-Viewer EX

หากต้องการใช้งาน Remote ผ่าน Smartphone / Tablet สามารถดูได้ที่บทความ
https://www.kpt-machinery.com/proface-remote-hmi-mobile-app/

